How to set up a weekend farmers market stall without overbuying
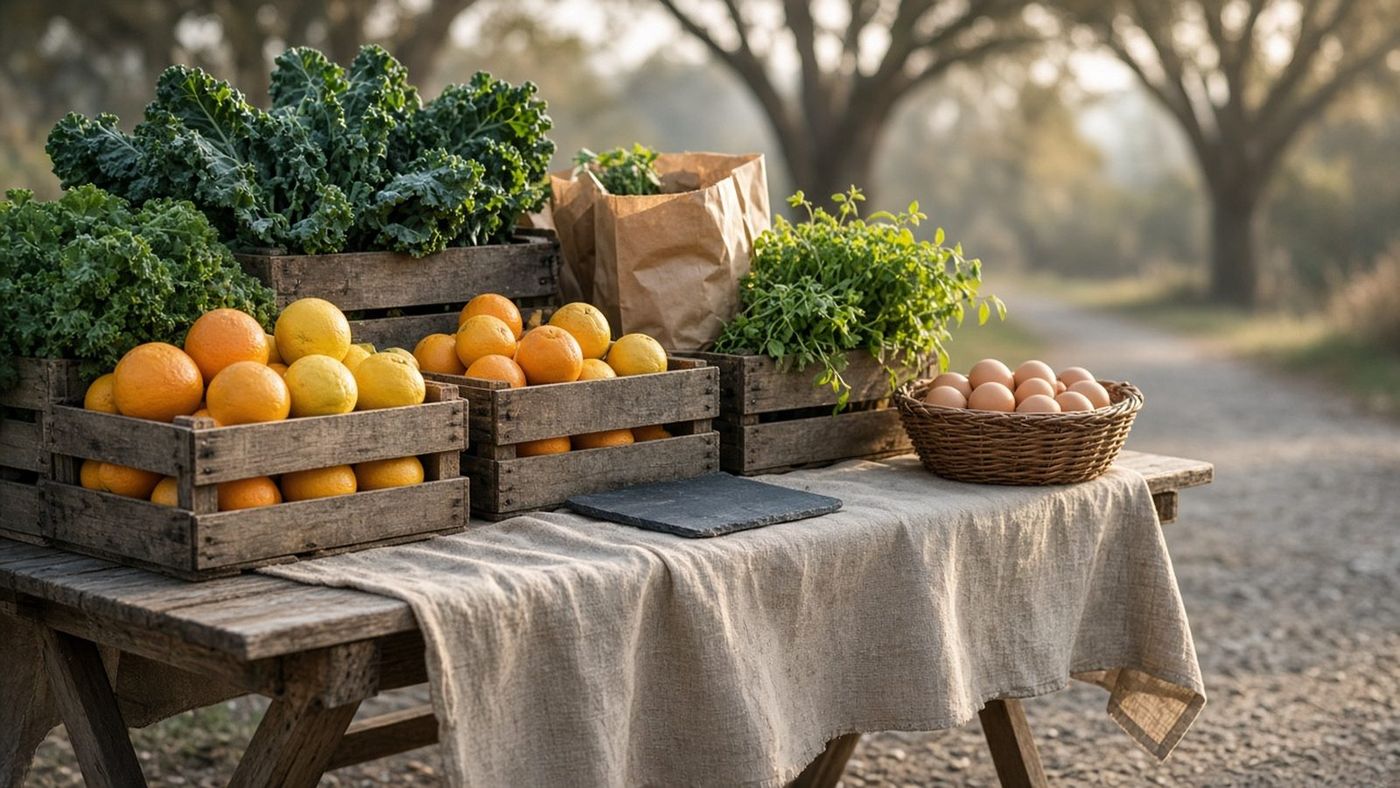
You do not need a van full of product to look ready on Saturday morning. You need a tight list, a table people can read from the sidewalk, and enough stock to last the rush without hauling half of it back home.
Most overbuying happens on Thursday night, when it still feels safer to pack “just a little extra.” By Sunday afternoon that extra is a second trip to the car, wilted greens, and a stall that looked busy but did not sell through. The fix is a short plan you finish at home, before anything goes in a crate.
Start with a short Saturday list
Write the list on Thursday, not in the parking lot. Three columns are enough: what you will sell, how many units you can reasonably move, and what has to come home if it does not sell. If you already keep notes from last weekend, start there. A one-page packing list for market mornings is enough. You do not need a new system.
Count last week’s leftovers first
If eight jars of jam came home last Sunday, do not pack twelve more just in case. Bring the leftovers to the front of the table and add two new flavors, not six. The same rule works for baked goods and produce: sell what is already packed before you bake or harvest a full new batch.
Price before you pack
Put the price on a small card while you are still at home. People walking by should be able to read it without asking, and you should not be doing math with a line forming. If you are unsure about a dozen muffins or a bag of citrus, use the same method from how we price a dozen muffins for a Saturday stall and write the number down once.
Build a table people can read from the sidewalk
The first three feet of the stall do most of the work. A clean header sign, one featured item at eye level, and prices that do not hide under the produce will stop more people than a table packed edge to edge.
Keep the height simple
A folding table, a crate or two for dimension, and a cloth that reaches the grass is usually enough. Tall racks look impressive in photos and get in the way when the wind picks up. Leave a clear path for your own hands so you can restock without rearranging the whole display.
Feature one thing, not everything
Pick a single item for the front crate and give it air. The rest of the goods can sit in tighter rows behind it. If you want a photo for the week’s post, shoot that front crate at home the night before, using the same setup as photographing products on a kitchen table.
Pack out in under an hour
Leave a clear bin for unsold goods and a second one for cash, cards, and the tablecloth. Collapse the display in the reverse order you built it. If teardown regularly takes longer than setup, the stall has too many pieces. Cut one prop or one extra crate before next Saturday, not after you are already tired.
The goal is a stall that looks considered, sells through most of what you brought, and lets you leave on time. Once the list, the prices, and the front of the table are decided at home, Saturday morning is just assembly.